Video: how foundation screws are made
Below is the video cover. On click, the video opens directly on YouTube, without an embedded player, so that the error from the local preview no longer appears.

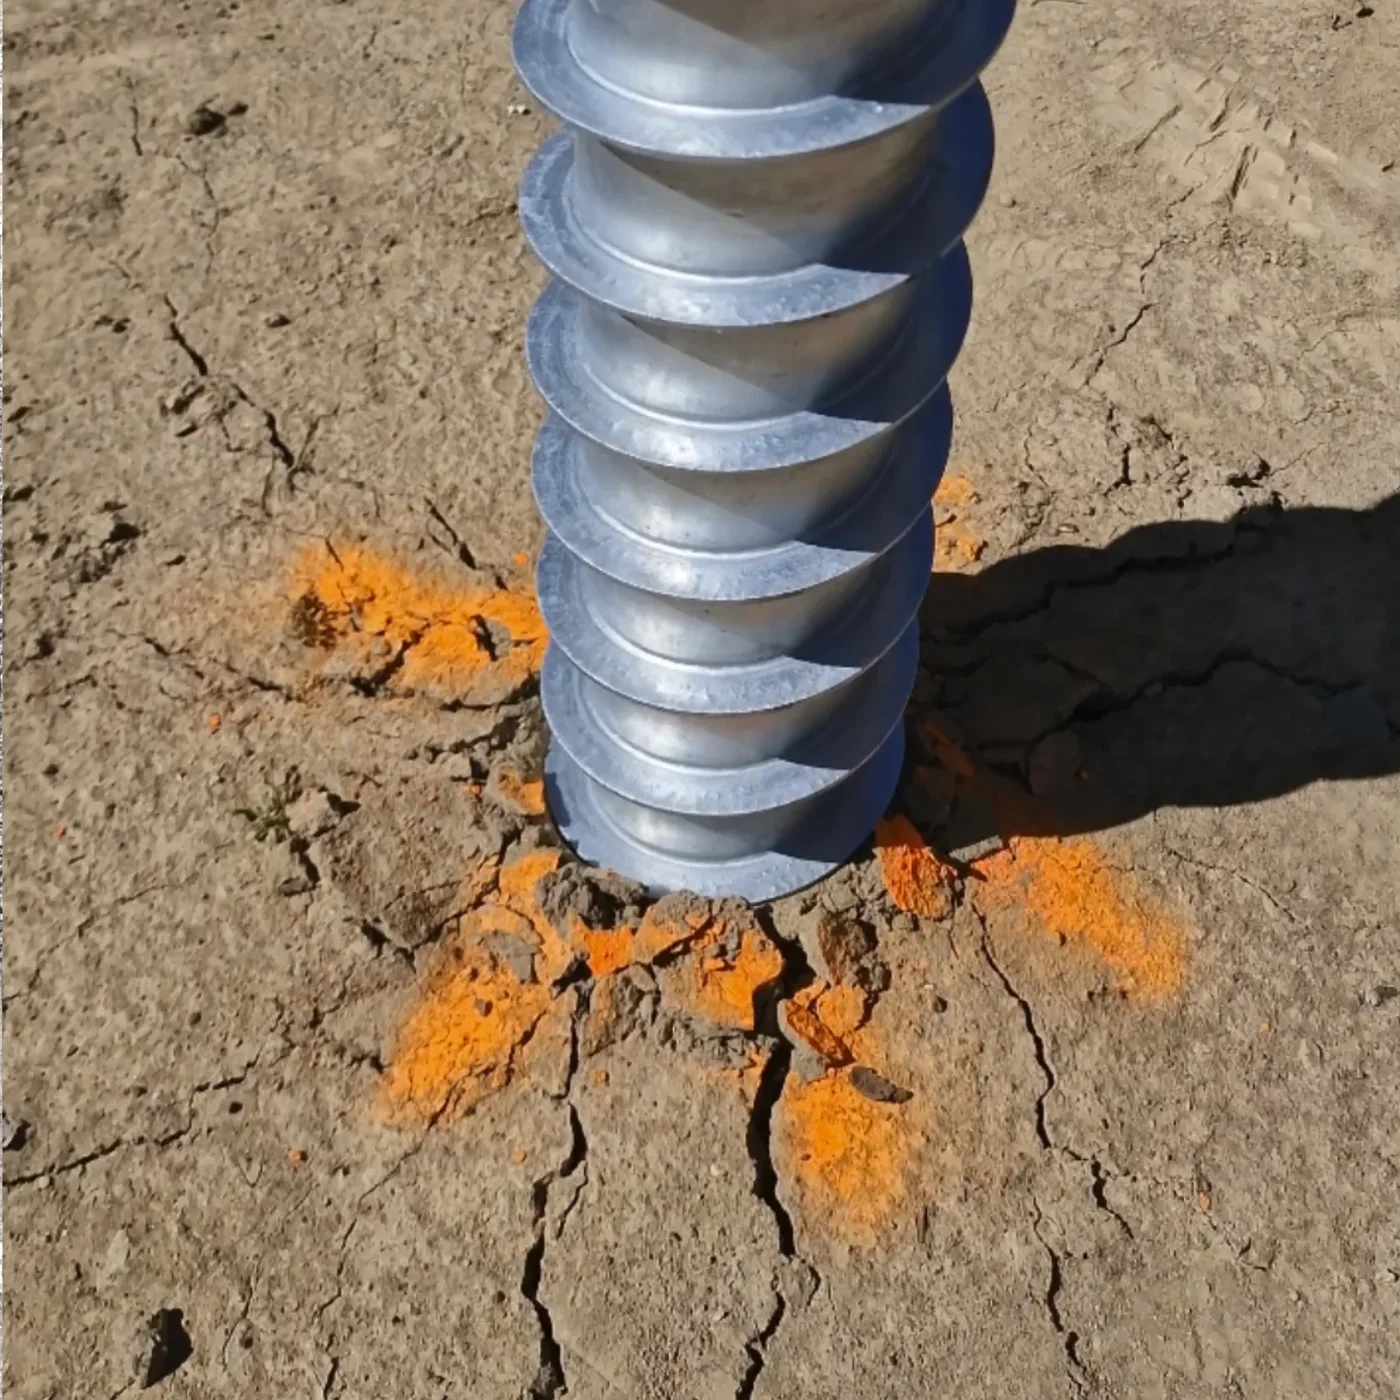
At first sight, a foundation screw looks like a simple product: a steel tube, a tip, a thread and a flange.
In reality, for that product to become part of a building's foundation, several things must be controlled: the material, the geometry, the thicknesses, the welds, the corrosion protection and the identification of the product.
A foundation screw should not be made “by eye”, nor copied just from the shape of another part.
Behind a documented product there is an execution drawing, identified materials, manufacturing operations, welding, checks, galvanising and traceability down to the batch delivered to the site. MARTETIC's documentation follows precisely the link between the raw material, the manufacturing batch, the finished product and the work in which it is used.
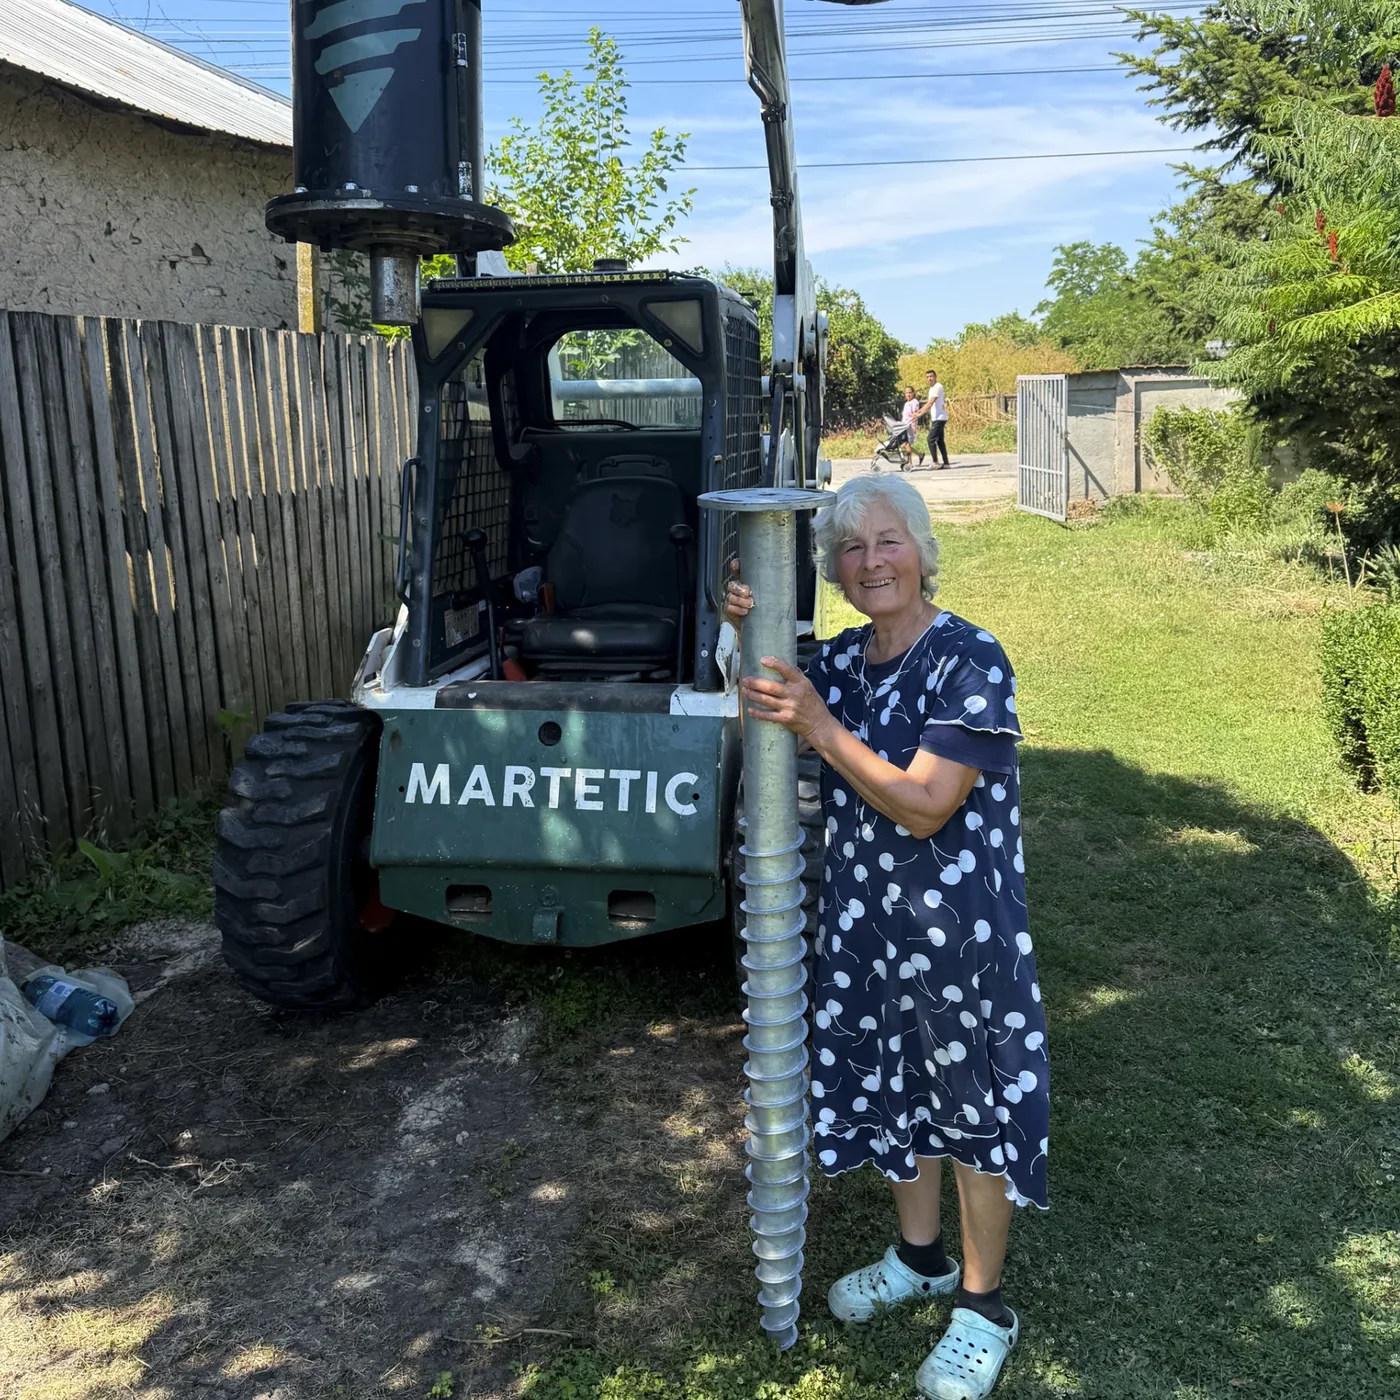
A foundation screw is made starting from a product defined by drawing and technical specifications. The steel components are identified and cut, the body, helical blade, flange and the other parts are prepared, they are assembled and welded, the product is dimensionally checked, then protected by hot-dip galvanising. At the end, the screws are identified by batch and linked to their technical and traceability documentation.
The quality of the final product does not depend on a single operation.
It is the result of the whole process.
What is a foundation screw made of?
Depending on the model, the configuration can differ, but a foundation screw for structural applications can have:
- a steel tubular body
- a tip
- a helical blade or thread
- a flange
- fixing holes
- a central fixing
- stiffening gussets
- in the case of modular systems, extensions and connecting elements.
For example, a documented MARTETIC product M Ø89 × 3.6 × 2,050 mm is made with a Ø88.9 mm tubular body, a thickness of 3.6 mm, a helical blade and a circular Ø220 × 12 mm flange. For this configuration, the data sheet indicates S235 steel for the body and S355 for the flange.
These values, however, belong to that particular model.
It should not be assumed that all foundation screws have the same thickness, the same material, the same flange or the same thread.
1. Everything starts with the product to be made
Before the first piece of steel is cut, it must be clear what product we want to obtain.
The drawing and the production documentation define, as applicable:
- the body diameter
- the tube thickness
- the length
- the blade geometry
- the flange size
- the position of the holes
- gussets
- the connecting elements
- the welds
- the tolerances.
Here is one of the important differences between an industrial product and a part simply made in a workshop.
Two screws can look almost identical in a photograph and still have:
a different thickness, a different steel, a different thread geometry, a different flange and different welds.
And all of this can influence the behaviour of the product.
2. Receiving and identifying the steel
Manufacturing begins with the raw material.
For a structural product, the material should not be identified only by the expression:
“it's steel”.
The type of material used for the components must be known.
In a traceability system, the raw material can be linked to:
- the supplier's documents
- the material certificate
- heat number
- the production batch.
MARTETIC's technical documentation provides that traceability can start from the inspection certificate of the tube, sheet or flange and continue to the finished product.
In practice, we must be able to answer the question:
Not only:
What material it was supposed to be made from.
3. Cutting the components
After the materials are identified, the components are prepared according to the execution drawing.
The tubular body is cut to the required length, and the components that will form the product are prepared separately:
- the helical blade
- the flange
- the gussets, if the model has them
- the elements for the tip
- other components specific to the configuration.
In MARTETIC's traceability process, the cut components are allocated to a production batch, so that the following operations can remain linked to that product.
This becomes very important when hundreds of screws of several sizes are produced in the same order.
4. The helical blade – one of the most important parts of the product
The thread or helical blade is not only the element that “pulls” the screw into the ground.
It is an important part of the geometry through which the product interacts with the ground.
Depending on the model, the following must be controlled:
- the thickness
- the width
- the geometry
- the length of the helical zone
- the position on the body
- the welded connection to the tube.
That is why two screws with the same diameter and the same length are not necessarily equivalent products.
An Ø89 × 2,000 mm with a certain blade geometry can be different from another Ø89 × 2,000 mm that uses a narrower or thinner thread.
In the MARTETIC range there are different configurations depending on the product. For example, the data sheet of an M89 documents a 15 × 3 mm blade, while there are also MARTETIC products delivered with a 20 × 3 mm geometry.
5. The flange and the connection to the structure
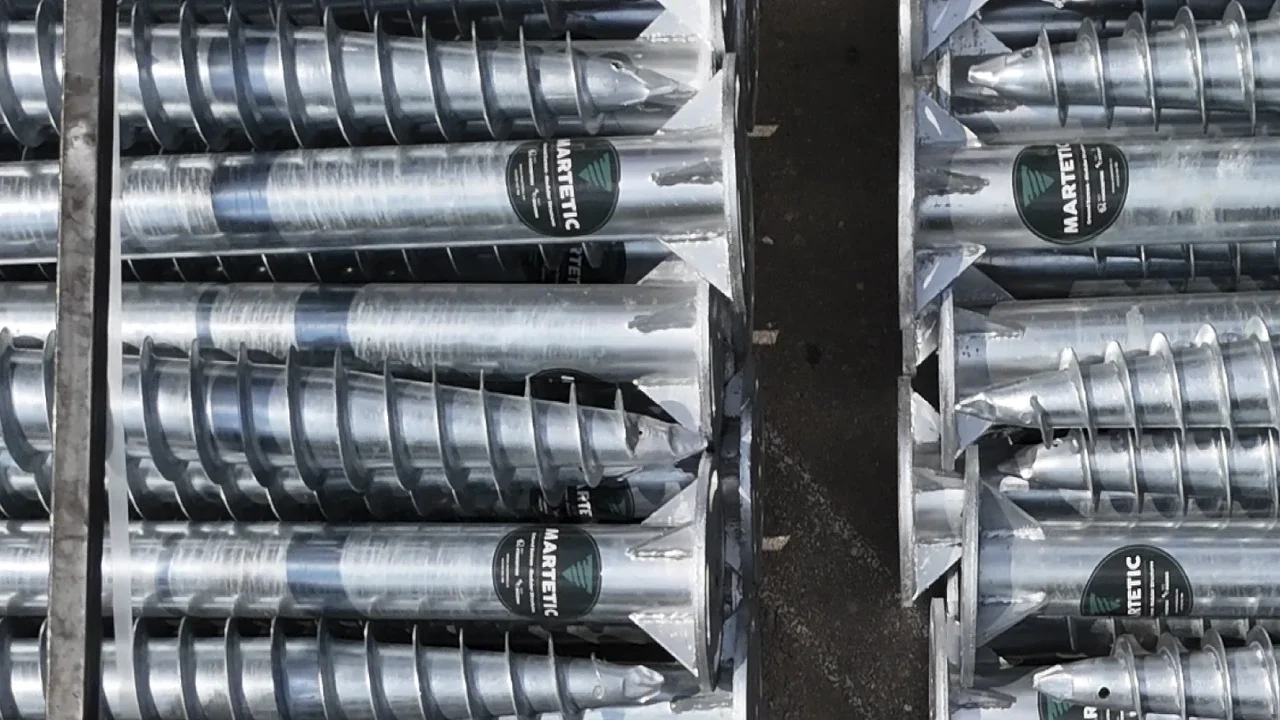
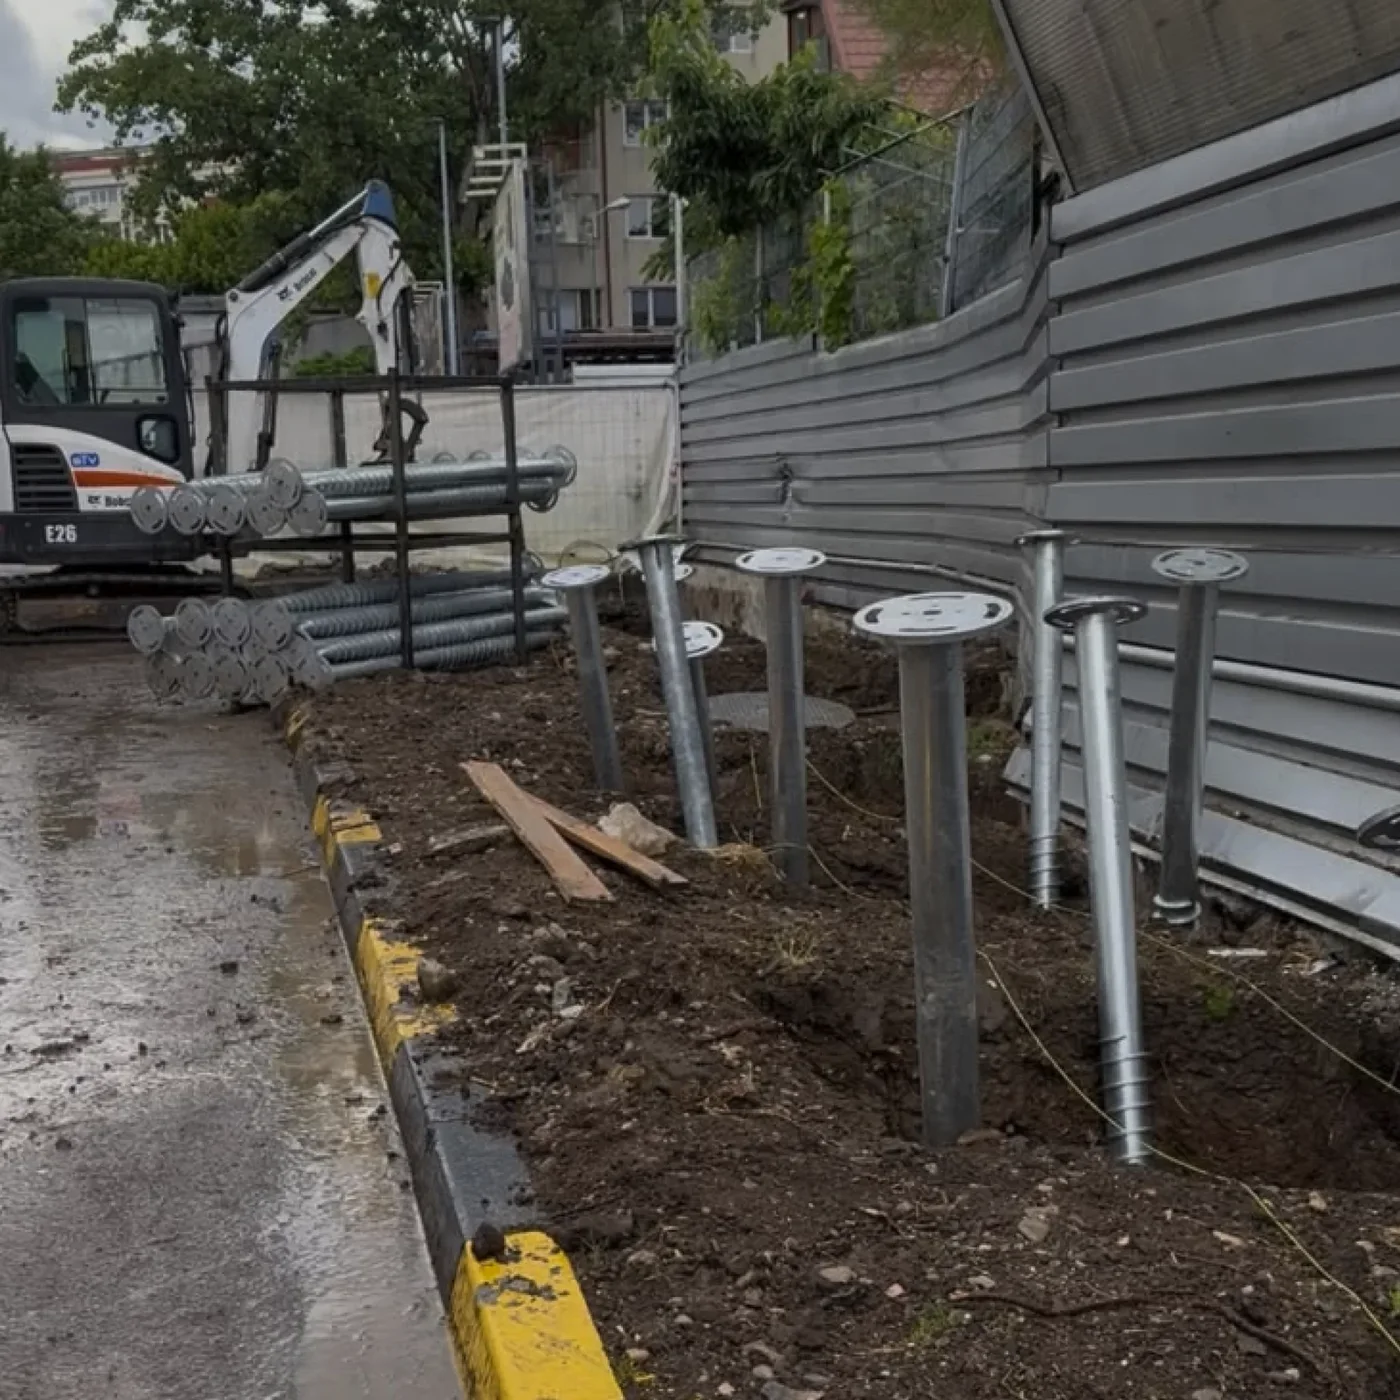
On models with a fixed flange, the upper part is just as important as the part that goes into the ground.
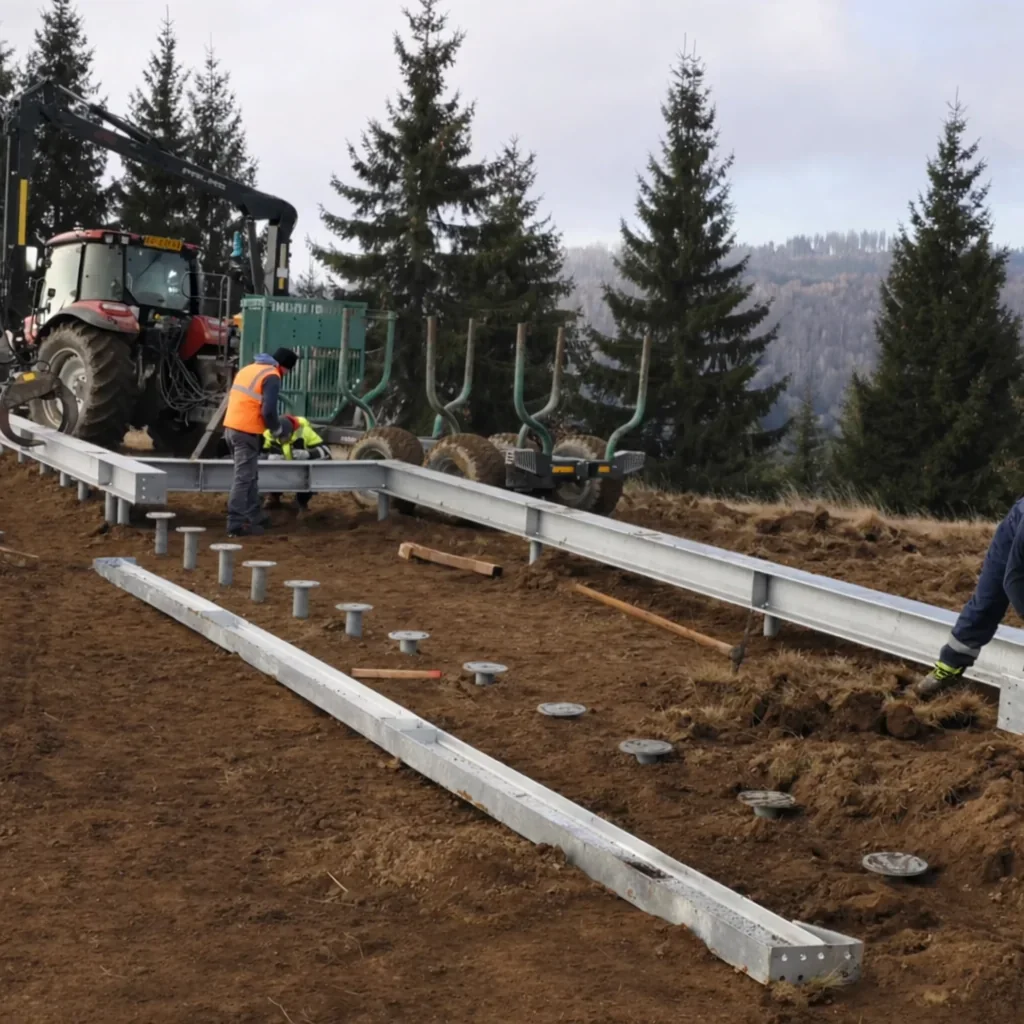
The flange links the foundation to:
- the timber structure
- LSF
- HEA/IPE
- a container
- a steel platform
- another structural system.
That is why the following must be controlled:
- the diameter
- the thickness
- the flatness
- the holes
- their position
- the central fixing, if there is one
- the gussets
- the position of the flange relative to the body.
For a documented MARTETIC M89 product, the flange is Ø220 × 12 mm in S355 steel, while the body is S235.
Other models can have other flanges or can be made in Custom configurations.
6. Welding the components
After the parts are prepared, the components must be assembled into a single product.
This is where the welds between the body and components such as the following come in:
the blade, the flange, the gussets and the other elements provided in the drawing.
Welding should not be seen only as a method by which “we hold the parts together”.
For a structural element, the way welding is carried out and controlled is part of the product's quality.
The documentation behind a product can include:
- WPS – the welding procedure specification
- the qualifications supporting the procedure
- the qualification of welders or operators
- the drawings that define the welds
- weld inspection
- any additional tests, when provided for.
This is especially important in areas such as:
where forces must be transferred between components.
7. What does EN 1090 mean in manufacturing?
EN 1090 appears frequently when we talk about structural steel products.
For the manufacturing process, what matters most is that there is a production control system and requirements for the execution of components within the applicable scope.
In practice, that means manufacturing must not rely only on the operator's experience.
EN 1090 does not mean, however, that a screw automatically becomes suitable for any house or has a universal capacity in the ground.
Standardising the manufacturing process and designing the foundation are different things.
8. Dimensional control
After manufacture, the product must be checked.
It is not enough for it to “look good”.
Depending on the product and the control procedure, the following can be checked:
- the length
- the diameter
- the thicknesses
- the flange size
- the position of the holes
- the blade geometry
- the alignment
- the welds
- conformity with the drawing.
MARTETIC's documentation refers to dimensional control reports and weld inspection, as well as to the records of remedial work and non-conforming products.
This is very important.
A product that does not comply with the drawing should not automatically become a finished product just because it can be galvanised and sold.
9. Only after metal fabrication does the corrosion protection come
After the metal component is made and checked, the surface protection follows.
For the documented MARTETIC products, hot-dip galvanising is used, depending on the product and the related specification.
The process involves immersing the fabricated part in molten zinc, so that the zinc protection system forms on the surface of the steel.
ISO 1461:2022 covers the general properties and verification methods for coatings obtained by hot-dip galvanising of products made of iron and steel.
Depending on the product, aspects such as the following are checked:
- the coating
- the thickness
- continuity
- uncoated areas
- the surface condition.
10. Why is the product galvanised after it is made?
Because we want the protection to cover the final assembly, not just the raw material.
The body, blade, flange and gussets must be treated as a single product.
This is also the reason why changes made afterwards must be handled carefully.
If after galvanising we:
- cut
- drill
- grind aggressively
- weld
we can remove the protection locally.
The affected areas must be treated according to the applicable procedure, not simply left unprotected.
11. Galvanising does not hide poor fabrication
This is an important point.
A shiny, galvanised screw can look very good in a photograph.
But zinc cannot compensate for:
- a wrong material
- insufficient thickness
- incorrect geometry
- a deformed blade
- an improper weld
- a wrong flange.
Galvanising is the corrosion protection.
It is not a substitute for manufacturing control.
Likewise, a weld that looks good on the outside does not on its own prove that the whole product complies with the documentation.
12. Inspection after galvanising
After galvanising, the product must be checked again before being prepared for delivery.
The following are checked, as applicable:
- the general condition
- any deformations
- the coating
- damaged areas
- the holes and connecting elements
- the identification of the product
- the match with the batch.
A finished product must be not only correctly made, but also identifiable.
13. From galvanised screw to traceable product
This is where the difference appears between:
In the traceability system, after manufacture and control:
- the product remains linked to the production batch
- the welding, control and galvanising operations are linked to that batch
- the pallet is identified
- the model and quantity are recorded
- the commercial documents must describe the product in a form compatible with the data sheet and related documentation
- at installation, the batch can be linked to the specific work.
That way, years later there should be an answer to the question:
14. What information should we be able to check on a product?
Depending on the model and documentation, the important information can include:
| Item | Example |
|---|---|
| Range | M |
| Diameter | Ø89 mm |
| Body thickness | 3.6 mm |
| Length | 2,000 / 2,050 mm |
| Body material | S235 |
| Flange material | S355, where the product specifies it |
| Blade geometry | per the product drawing |
| Flange | per the configuration |
| Protection | hot-dip galvanising |
| Batch | identified |
| Documentation | correlated with the product |
For the M89 model analysed above, these characteristics are defined explicitly in the data sheet.
15. Why can two screws that look the same be very different?
Because a photograph does not show us:
- the material certificate
- the real thickness of the tube
- the quality of the weld
- the manufacturing procedure
- the thickness of the flange
- the real geometry of the blade
- the traceability
- control of the batch.
Let's take two Ø89 × 2,000 mm screws.
Seen from two metres away they can look almost identical.
One can have a 12 mm flange, the other a much thinner one.
One can have a robust blade, the other a narrower blade.
One can have an identified material and batch.
The other may be impossible to trace after delivery.
The general shape is not enough to assess the product.
16. Does a bigger thread automatically mean a better screw?
Not automatically.
The blade geometry is very important, but it must be analysed together with:
- the body diameter
- the thickness
- the length
- the steel
- the weld
- the ground
- the loads
- the installation method.
A wider or thicker blade can be an advantage in a certain configuration, but on its own it does not turn the product into a foundation suitable for any building.
In design, what matters is the assembly.
17. How are Custom products made?
Not all projects can be solved with a standard product.
There can be special requirements for:
- flange
- diameter
- holes
- gussets
- heads
- connections
- length
- steel structure.
In these situations, the product must be defined before manufacture.
Ideally, important changes are made in:
and not through improvisation after the product has reached the site.
It is much cleaner both structurally and from the point of view of corrosion protection.
18. What does the manufacturing flow look like, in short?
The process can be summarised very simply:
This is the important chain.
Not only manufacture. Manufacture + control + identification.
19. What documents exist behind the manufacturing process?
The client does not necessarily receive the factory's entire internal file with every order.
But the manufacturer must be able to support the process through the relevant documents.
These can include, depending on the product and the requirements:
- material certificates
- identification of heats
- execution drawings
- WPS
- welding qualifications
- welder qualification
- dimensional checks
- weld inspections
- documents on galvanising
- records of non-conforming products
- batch identification.
Then, for the product placed on the market, the applicable documentation can be supplemented by a data sheet, DoP, CE information and traceability.
20. Correct manufacture does not automatically mean a correct foundation
It is the last difference worth making very clear.
We can have a screw that is:
- correctly manufactured
- correctly welded
- correctly galvanised
- correctly documented
and still be the wrong product for a particular project.
For example, it can be too short for the stratification on site or insufficient for the building's loads.
That is why the complete chain is:
A factory certificate does not replace design, and MARTETIC's documentation explicitly separates the responsibility for the product from the verification of the foundation in the project and in the real ground.
Frequently asked questions
What steel are foundation screws made of?
It depends on the product. For example, for a documented MARTETIC M89 model, the body is S235 steel and the flange S355. This should not be automatically generalised to the whole range.
Is the thread welded to the tube?
For the documented MARTETIC model, the product is described as having a helical blade welded to the tubular body.
Are the screws galvanised before or after fabrication?
The hot-dip galvanising protection is applied to the fabricated product, so that the body and its components are protected as an assembly.
Do all screws have the same thread?
No. The geometry depends on the product and the execution drawing.
Are all MARTETIC screws the same thickness?
No. There are different ranges and configurations, chosen according to the application.
Does a neat-looking weld automatically mean a good weld?
No. Visual appearance is only one form of inspection. The welding process and the documents that support it are just as important.
Can hot-dip galvanising hide a poor weld?
Galvanising protects the surface against corrosion. It does not repair improper geometry or a poor weld.
Can the screw be modified after galvanising?
Sometimes approved interventions are possible, but cutting, drilling or welding locally affects the protection and must be treated appropriately. Ideally, the final configuration is set before fabrication and galvanising.
Why does it matter how the screw we put under a building is made?
Because after installation most of the product can no longer be seen.
It stays in the ground and has to transmit the building's loads.
That is why, before we screw it in, we want to know:
At MARTETIC we do not look at the foundation screw merely as a piece of metal.
We look at it as a component of a system:
Every stage matters.
Do you need foundation screws for a project?
Send us the plan or dimensions of the building, the locality, photographs of the site and the information available about the ground.
We can analyse the range, the size, the configuration, the connection, the installation and the documentation the project needs.
Send the project for analysis